Work Orders: Follow-Up Work Orders, Routing Rules, and Notifications
Last updated: November 11, 2026
This article covers creating follow-up work orders from a dispatch, the settings that enable them, and how to configure routing rules and notifications.
Creating follow-up work orders from an open dispatch
Abnormalities are often identified during machine downtime that can't be addressed during the dispatch, and it may not be convenient or feasible to fix them immediately. Follow-up work orders let you document the abnormality so it can be addressed later.
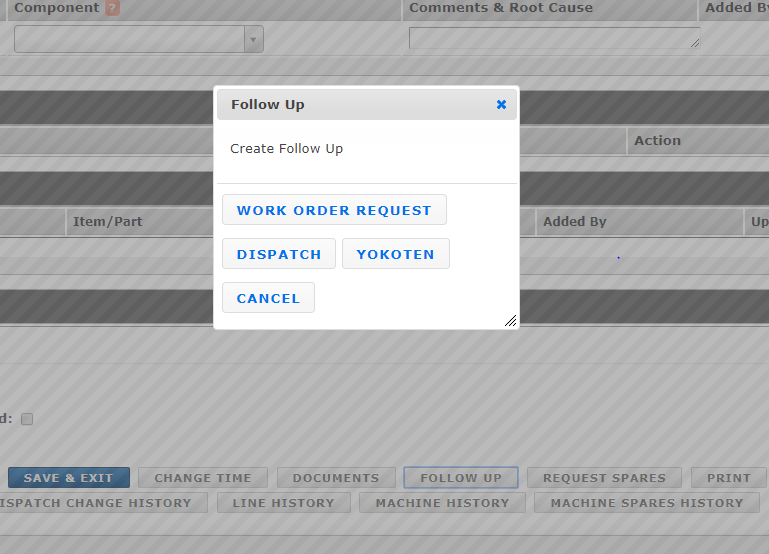
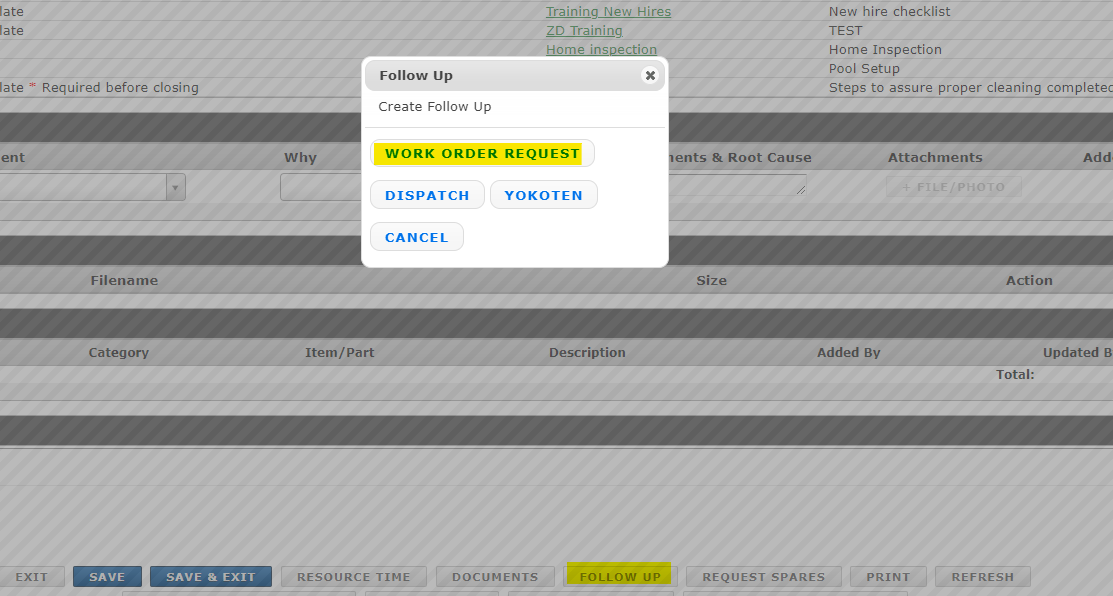
When the dispatch is ready to close, scroll to the bottom of the dispatch and select the Follow Up tab. This creates a work order tied to the original dispatch, with all of that dispatch's details.
Select Work Order Request.
Populate the required fields and the specifics of the work, then select Save.
The dispatch can be closed and updated without affecting the new follow-up work order. This promotes good documentation and lets abnormalities be addressed at a more convenient time.


Work Order Request button not visible in a dispatch
If you don't see the Work Order Request button on a dispatch's Follow Up tab, check your work order settings.

Under Miscellaneous Settings, make sure Allow Work Order follow ups to a Dispatch is set to True.

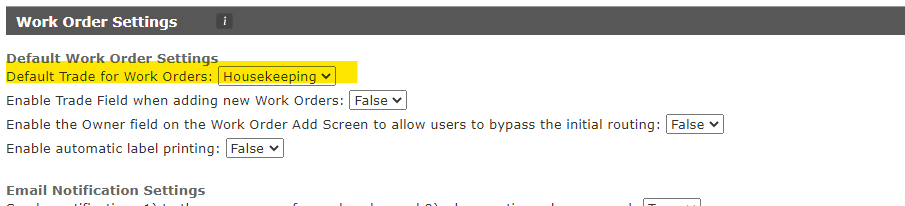
Under Default Work Order Settings, make sure a Default Trade is selected for work orders. This is required.
Routing rules
When you're added to the work order routing rules, you'll be notified whenever a work order is created that matches the rule.
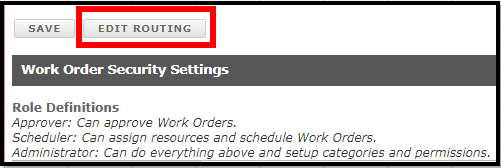
To open the routing rules page, click Settings in the Work Order module. Above the security settings, click Edit Routing.
How to set a rule
Click the Add Rules button at the bottom of the current rules.
In the first section (IF), use the drop-down to choose how to start the rule: Area, Line, Value Stream, Category, or Trade.
In the equals (=) section, select the value that corresponds to your IF selection. Example: if you selected Trade, select a specific trade.
In Route To, select the person who needs to approve these work orders.
In Notify, add anyone who should be notified that the work order was created. You can add as many people as needed.
Note: Select the plus (+) button below the IF section to add more criteria. This works as AND logic. Example: If Trade = Electrician AND Area = Facilities, route to X and notify X.


Status notifications
You can also set work order notifications for Denied, Completed, and Launched statuses by selecting TRUE in the drop-down.

Important: All intended recipients must have a valid email address in their L2L user profile, or they will not receive notifications. Users without an email address cannot have routing rules configured.